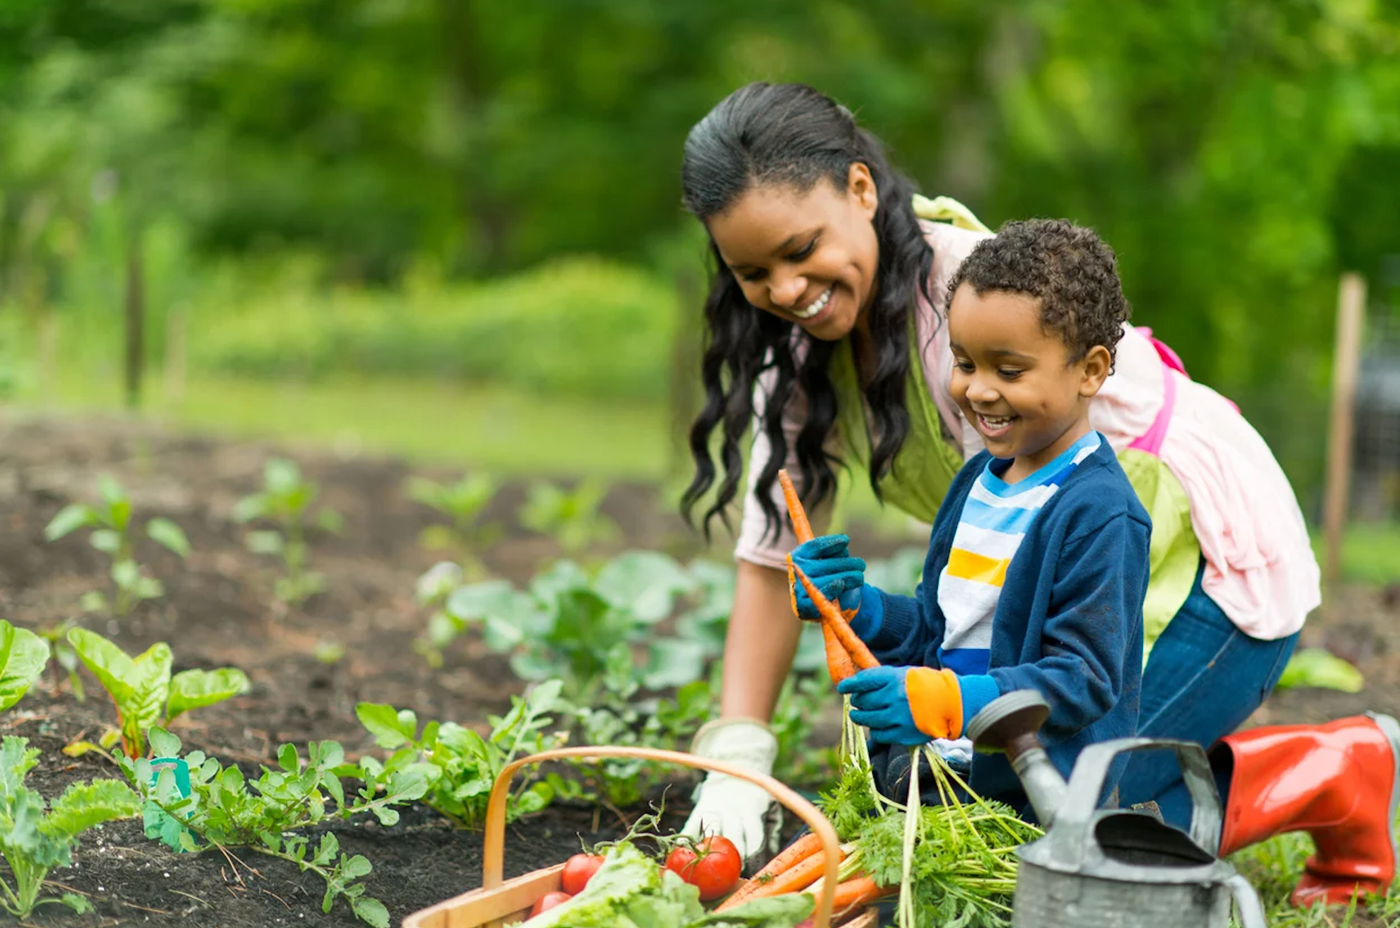
The market selection of salad greens is expanding all the time. The tantalizing shades of pre-packaged greens in those little plastic bags or bins seem very convenient and appealing, but are they worth their hefty prices? Since there are usually only a few varieties of store greens available at any given time, consider instead how easy it is to grow fresh salad outside your own back door in the cool wet of our Willamette Valley climate. There are many additional greens you can choose from that are colorful and offer a big variety of tastes. You don’t need a large, sprawling garden to enjoy a crisp salad freshly picked from your own plants. As a bonus, the harvest will also be flavorful and preservative-free.
To grow greens at home, select a large planter with drainage holes. Wood or terra cotta is fine, but plastic pots may also be considered or even preferred because they are lighter and easier to move around. Find a window box or other pot that is at least 18 inches wide and 6 to 12 inches deep. Round, oblong, rectangular—any shape of pot is suitable for salad-greens growing as long as it provides the space and drainage plants need. Placing the pot outside near the back door in a spot that receives lots of good light makes for lots of enjoyment as you watch your salad greens develop. Having the salad bowl pot nearby also makes it easier for slug monitoring and quick watering.
To keep the salad bowl varied and interesting to the eye as well as the palate, choose from a variety of greens, often available as six-pack starts at your nearby garden center. Arugula, cress, escarole, and tatsoi are nice choices that come in various flavors and shades of green. Along with the lettuce, you may wish to grow other greens, such as spinach, kale, or Swiss chard.

Use quality, pre-moistened potting soil to ensure lush plant development. If you prefer to start from seeds, space them an inch apart and a half-inch deep to assure space for roots and greens to mature. Lettuce matures from seedlings in about three weeks. Keep your salads growing equally on all sides by rotating the pot frequently so sunlight reaches all plants evenly. To lengthen the harvest, move the pot around your yard through the growing season as light exposure and shadows change.
Thin the plants when they reach a few inches tall using a pair of scissors. In a few weeks, greens can also be harvested by simply plucking individual leaves instead of the whole plant. Toss the thinned pieces into your salad bowl, too. Simply cut the desired ones, leaving the main plants to continue growing and producing more greens. Soon, you’ll discover delightfully different tastes from your greens at different ages of maturity. You should be able to enjoy three to four harvests from each plant. There is also the possibility of succession planting—in another few weeks, you can have another entirely new crop of plants to harvest from.
A salad bowl garden does not have to be restricted to greens. It’s fun to throw in some edible flowers, as well. Try topping off the salad with spring favorites such as violas (the smaller pansies) or the flower heads off chives or dandelion blooms.
Container-grown salad greens don’t require much space or even much effort. They are also the perfect fun and educational project to work on with sometimes less-than-patient children.


