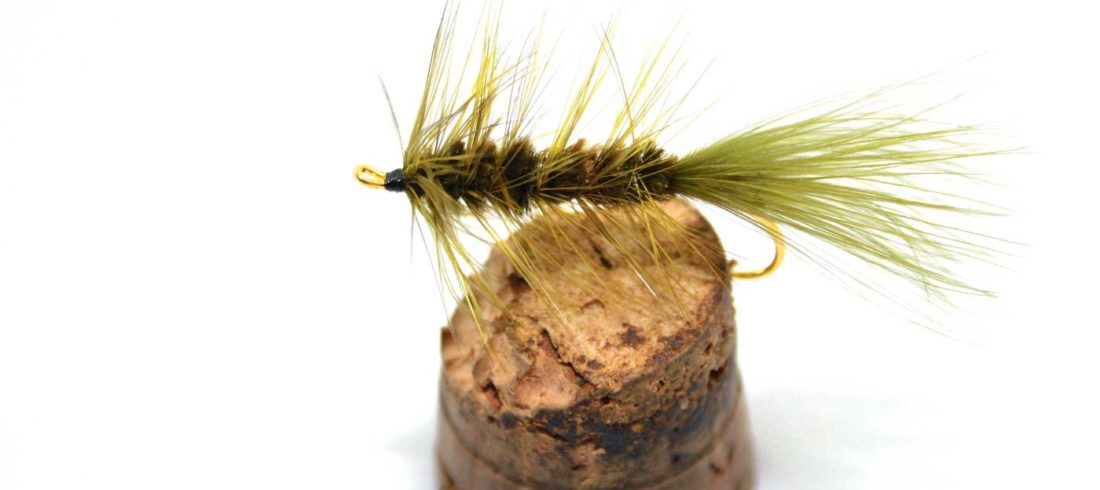
So you want to learn how to tie flies! Great, let me introduce you to Ol’ Mr. Woolly Bugger, the most recognizable fly in all of fly-fishing. What is this fuzzy fish-getter supposed to imitate? It can be made in different colors to represent various insect larvae, or possibly a minnow, but most likely a leech. That’s right, a bloodsucking leech that is moving stealthily through the water, looking for its own morsel for dinner.
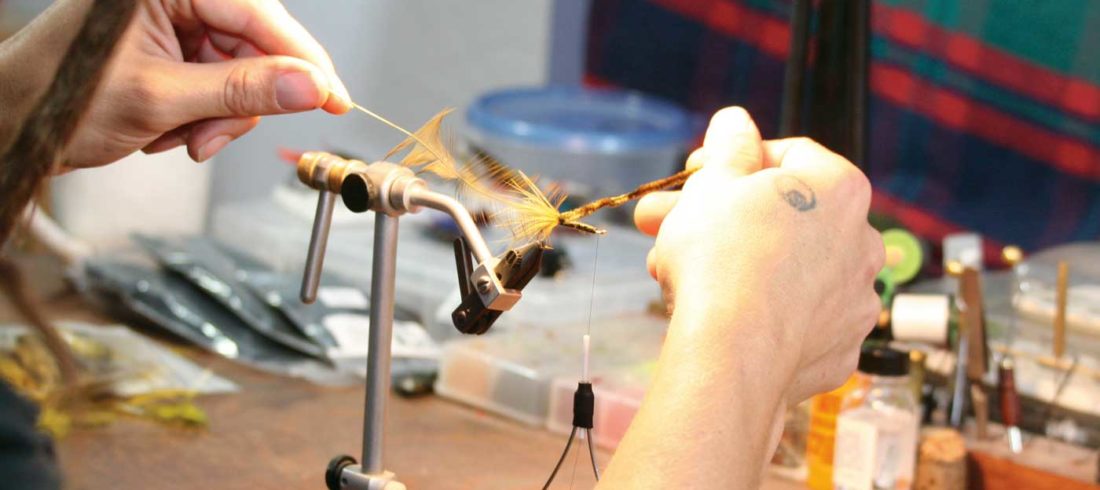
This easy-to-tie fly works well in all types of water, be it a high mountain lake, a fast moving river or stream, or the warmer waters of our reservoirs in the cool of summer’s evening. In calm water, I like to cast it along shore and then fish in long, slow retrieves, or with a jerk-jerk-pause method. In rivers, cast the fly across and let it drift downstream until it is below you, but don’t be in a hurry to pick it out of the water. Many times the fish will come in behind while the bugger is “dancing” in the ripples. If you want to tie your own homemade woolly bugger, here are a few simple directions.

Gather your tools:
A vice that will solidly hold your hook
A bobbin (Get one with a ceramic tip. It will cost a little more but is less likely to cut the thread.)
Sharp scissors
Hackle pliers
Half hitch tool (The tube of a retractable ballpoint pen also works well.)
Gather your materials:
Hook: long shank in size 2-10
Thread: dark color in size 6 or 8
Chenille: brown, black, or dark green
Hackle: nearly the same color as the chenille
Marabou (feathers): same color as the chenille
Head cement
Spend a little more money getting good quality materials. You’ll end up with a better product.
Directions:
- Start by putting the barb of the hook in the vice and flattening it. You will find that this makes you much kinder to the fish when you release it.
- Wrap the thread on the hook and take thread to the bend of the hook. It is very important that the thread is exactly at the beginning of the bend.
- Tie on the marabou at the bend for the tail. The marabou should be the length of the shank of the hook.
- Attach the chenille at the bend of the hook.
- Attach the saddle hackle (a long narrow feather) marabou at the bend of the hook.
- Wrap the thread to the eye of the hook.
- Start the chenille by putting one wrap only to the left of the marabou. Wrap the rest of the chenille to the right of the marabou to the eye of the hook and tie the chenille off with three wraps of the thread over the chenille. Cut off the extra chenille with the scissors.
- Grab the tip of the hackle with the hackle pliers, wrap (palmer) the hackle to the eye of the hook, and tie off with three wraps over the hackle with the thread. Cut off the extra hackle. (“Palmering” is a method in which you evenly space the wrappings the length of the hook.)
- Make the “head” of the fly by wrapping the thread about 20 times over the hook.
- Tie off the thread by making at least three half hitches on the head of the hook so the thread does not come undone.
- You’re done!
Cut the thread at the head and put a drop of head cement on the fly to glue it.

Next time you are releasing a trout and a fisherman asks,
“Hey, what are you using?”
you can proudly reply, “I’m using a woolly bugger, and I tied it myself!”


